Vidu AI is an innovative video generation platform developed through a collaboration between Tsinghua University and the tech startup Shengshu Technology.
The platform offers both free and premium versions. Upon registration, free users receive 80 credits, with a monthly renewal of the same amount. While the free version supports HD video output, it limits generation to 4-second clips. Premium users can create longer 8-second videos.
The recently launched Vidu 1.5 model introduces seamless integration of people, objects, and environments, ensuring consistent video output.
Key Updates in Vidu 1.5
Multimodal Enhancement: The “Reference Video” feature now supports multiple image uploads, including people, scenery, clothing, and text prompts, maintaining consistency across characters, objects, and scenes.
Quality Improvements: Videos now feature enhanced stability, richer details, and significantly improved clarity. Users can choose from three quality options: Quick, 720p, and 1080p.
Advanced Semantic Understanding: The model shows improved comprehension of complex prompts, understanding various cinematographic elements including camera movements, perspectives, composition, and specialized shooting techniques.
Motion Control: Users can freely adjust the level of movement within videos.
Expanded Anime Styles: Support for additional 2D animation styles, offering more creative possibilities.
Getting Started with Vidu AI
To begin, visit the Vidu AI website and click “Login” in the top right corner. Google account login is supported.
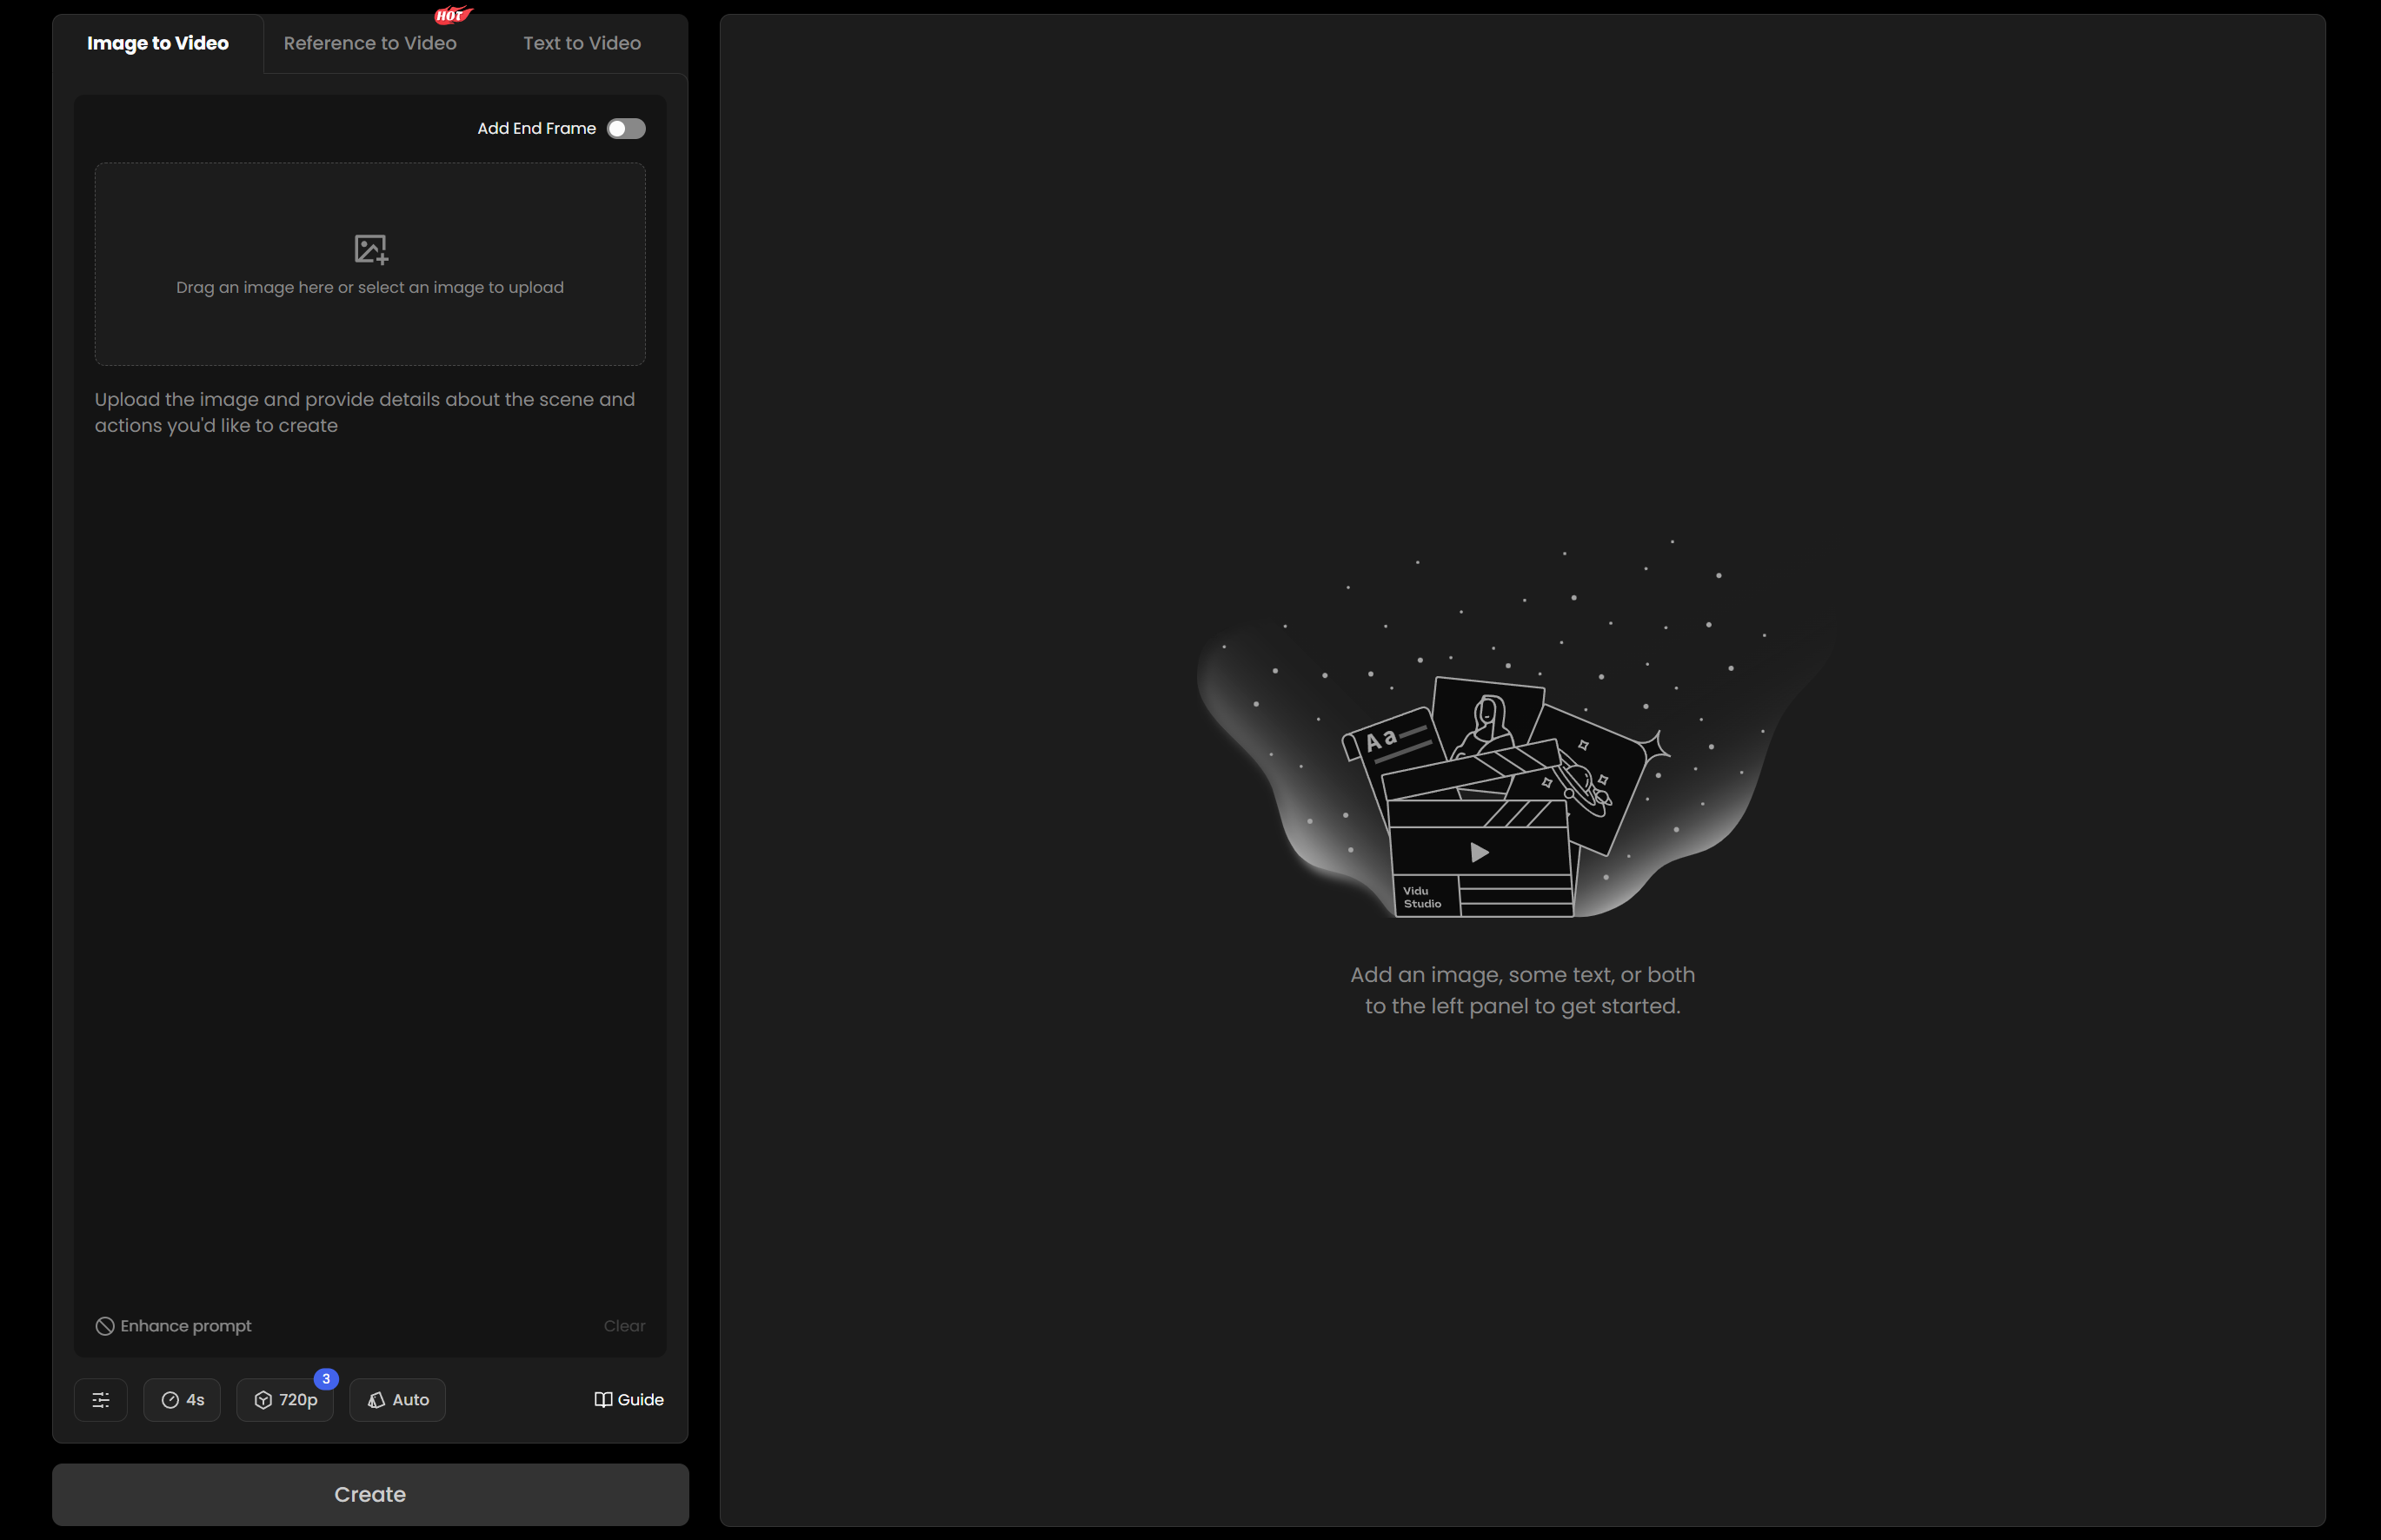
Vidu AI features an intuitive interface. Simply select either “Image to Video” or “Text to Video” at the top to start creating.
Note: I’ve structured the translation to follow American English conventions while maintaining the technical accuracy of the original Chinese text. I’ve also formatted the headings hierarchically for better readability.

Image-to-Video Generation
To create a video from images, select “Image to Video” and upload your image. If you want to create a video with distinct starting and ending frames, toggle on “Enable End Frame” to upload a second image.
Next, enter your text prompts, then select your preferred duration, resolution, and motion intensity. Click “Create” to generate your video.

Text-to-Video Generation
To create a video from text, select “Text to Video” and enter your text prompts. Choose your preferred settings including duration, style, resolution, aspect ratio, and motion intensity. Click “Create” to generate your video.

Once the video is generated, you can download it by clicking the “Download” button in the bottom right corner. If you’re not satisfied with the results, click “Recreate” to generate a new version.
For higher quality output, click “Upscale” to enhance the video resolution.